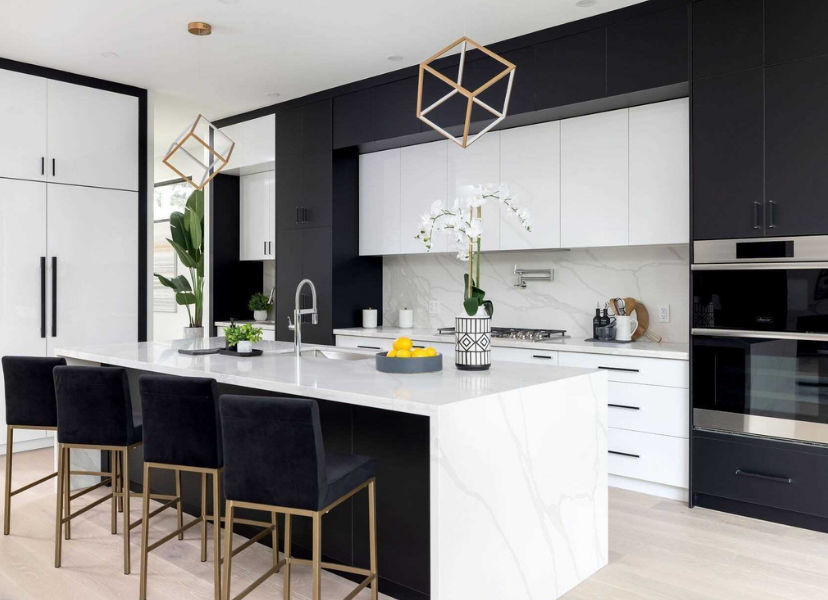
Make the most of your available space by adding new cabinets to your kitchen. Choosing pre-assembled is a good place to start if you’re on a tight budget. They are not only fast and simple to install, but they are also stylish. Your new kitchen can be finished in a weekend with the correct planning, supplies, and attention to detail. Installing kitchen cabinets is easy if you are going to follow this guide. Now let’s get started!
1: Kitchen Preparation and Measuring
1.1 – Disconnect the power source and turn off the water supply.
1.2 – Mark the locations of the studs and draw vertical lines from the floor to the ceiling using a square.
1.3-Identify the highest point of the completed floor and mark every wall with a laser at this height.
1.4: Draw a level line that is 34 ½” from the floor’s highest point. The base cabinets will be positioned using this line. Draw a horizontal line on the walls using a square.
1.5 – Mark the bottom of the wall cabinets by measuring 54″.
1.6 – Measure 84″ for 30″ wall cabinets, 90″ for 36″ cabinets, and 96″ for 42″ wall cabinets to indicate the top of the cabinets.
1.7 – Trace the outline of the kitchen plan on the walls, noting the number and location of each cabinet.
1.8-Make sure there are two studs for the cabinets at either end and at least one stud for the middle cabinet boxes.
1.9- Verify that the range hood’s exhaust vent is in the proper place.
1.10 – Verify that the under-cabinet lighting wires are positioned slightly above the line.
1.11 – Insert 1″ x 3″ temporary strapping into each of the studs on the line where the wall cabinets are to be placed. During installation, this board will support the cabinets and guarantee their levelness.

Pro TIP
Being level before beginning the installation is crucial. Preparation and measuring are made easier with a self-leveling cross line laser, which offers automatic levelling on all levels.
2: Install the wall cabinets
2.1 – Take out every cabinet door. Let’s start with the cabinet in the corner.
2.2 – Mark the locations of the studs by drawing a vertical line behind the corner cabinet. Mark the line at two inches from the top, bottom, and centre. Using a 3/32″ bit, drill.
2.3 – Place the corner cabinet on the temporary strapping and use #10 – 3″ screws to temporarily fasten it in place.
2.4- Verify that the cabinet’s top is aligned. Verify the level from side to side and front to back. If shims are needed, place them there and screw through to the studs.
2.5 – Mark the locations of the studs and drill behind the nearby cabinet.
2.6-Stand the cabinet on the strapping and attach the top and bottom clamps to the corner cabinets.
2.7 – Verify that all directions are level and that the face frames are flush. Adjust as needed.
2.8 – Fasten the cabinet to the wall with temporary screws. Using a 9/64″ bit, pre-drill two holes in the front of the cabinet box. Then, use #8 or 2 1/2″ screws to fasten the two cabinets together. Use three screws for cabinets that are 36″ and 42″.
2.9 – For the remaining wall cabinets, follow the earlier instructions once more.
2.10 – Verify that the cabinet backs are flush with the wall, level, and fastened. Adjust as needed.
2.11-Tightly fasten the cabinets to the wall studs with screws.
2.12-Take off the makeshift strapping
2.13 – Trim any protruding shims with a utility knife.
2.14 – Take the clamps off

3: Install the base cabinets and pantry cabinet
Take out all drawers and cabinet doors
3.2 – Prior to installing cabinets, make the plumbing and electrical cutouts.
3.3-Lead with the cabinet in the corner.
3.4 – Mark the stud locations behind the cabinet with a vertical line drawn there. Mark the line at two inches from the top, bottom, and centre. Use a 3/23″ drill bit to drill.
3.5 – Set the cabinet in alignment at 34 ½” using the drawn horizontal lines. Verify both walls’ levels and plumb. If needed, move behind and underneath.
3.6 – Use #10 – 3″ screws to temporarily fasten the item to the wall.
3.7 – Mark the stud and drill locations behind the cabinet next to it.
3.8 – Align the cabinet and secure the cabinet boxes with clamps.
3.9 – Verify the level and fasten the object temporarily to the wall.
3.10 – Use a 9/64″ bit to predrill two holes in the front of the box, then use #8 – 2½” screws to fasten the two cabinets together.
3.11 – For the remaining base cabinets, follow the earlier instructions once more.
3.12 – Verify the level and fasten the cabinets firmly to the wall studs.
3.13 – Trim any protruding shims with a utility knife.
4: Install Fillers
4.1: Determine how much space needs to be filled in between cabinets or between a cabinet and a wall.
4.2 – Write the measurement on the filler strip or tall filler. If the wall is uneven, draw the line using a pencil and compass.
4.3 – To ensure the filler fits correctly against the wall, cut it to length at a 7o to 10o angle.
4.4 – Set the filler in place and secure it with a clamp to the cabinet box next to it.
4.5 – Use a 9/64″ bit to predrill the front of the box, then insert #8 or 2 ½” screws to secure it.
5: Finishing
5.1 – Replace all of the drawers and doors.
5.2 – Mark the locations of the door and drawer handles using a template.
5.3 – Screw in handles or knobs after predrilling.
5.4 – Measure and nail in the toe kicks of the base cabinet.
5.5 – Install the finishing trim and crown mouldings.
-
Product on sale
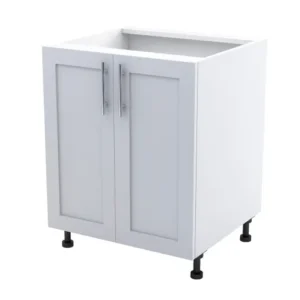
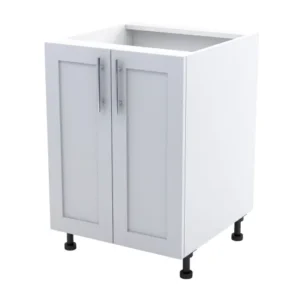
 White Shaker 36” Base Kitchen Cabinet$360.59
$410.59 -
Product on sale
 White Shaker 33” Base Kitchen Cabinet$237.43
$287.43 -
Product on sale
 White Shaker 30” Base Kitchen Cabinet$319.93
$369.93 -
Product on sale
 White Shaker 27” Base Kitchen Cabinet$298.53
$348.53 -
Product on sale
 White Shaker 24” Base Kitchen Cabinet$280.34
$330.34 -
Product on sale
 White Shaker 21” Base Kitchen Cabinet$255.73
$305.73 -
Product on sale
 White Shaker 18” Base Kitchen Cabinet$236.47
$286.47 -
Product on sale
 White Shaker 15” Base Kitchen Cabinet$150.54
$200.54 -
Product on sale
 White Shaker 12” Base Kitchen Cabinet$195.81
$245.81